
How to Build a Voice Over Home Studio for Kids (On a Budget)
The world of voiceover has shifted significantly, and today, many major auditions for animation, commercials, and audiobooks happen right from home. For young actors, having a reliable space to record isn't just a luxury—it's a critical tool for landing professional roles. Let’s explore how to create a high-quality setup affordably and effectively.

The Importance of a Home Recording Setup
Modern casting moves quickly, and we often see the best opportunities require a fast turnaround for self-tapes. When you build your home studio voice over capabilities, you give your child the flexibility to record whenever inspiration strikes. Our online classes frequently emphasize how a dedicated space helps students focus and deliver professional-grade performances.

Mastering Acoustics with the Closet Trick
You don't need a professional booth to achieve great sound; often, the best kids voice acting setup starts in a walk-in closet. Surround the recording area with blankets, pillows, and soft clothing to dampen echoes and outside noise. This simple, budget-friendly "closet trick" ensures that your child’s voice remains crisp, clear, and ready for industry professionals.

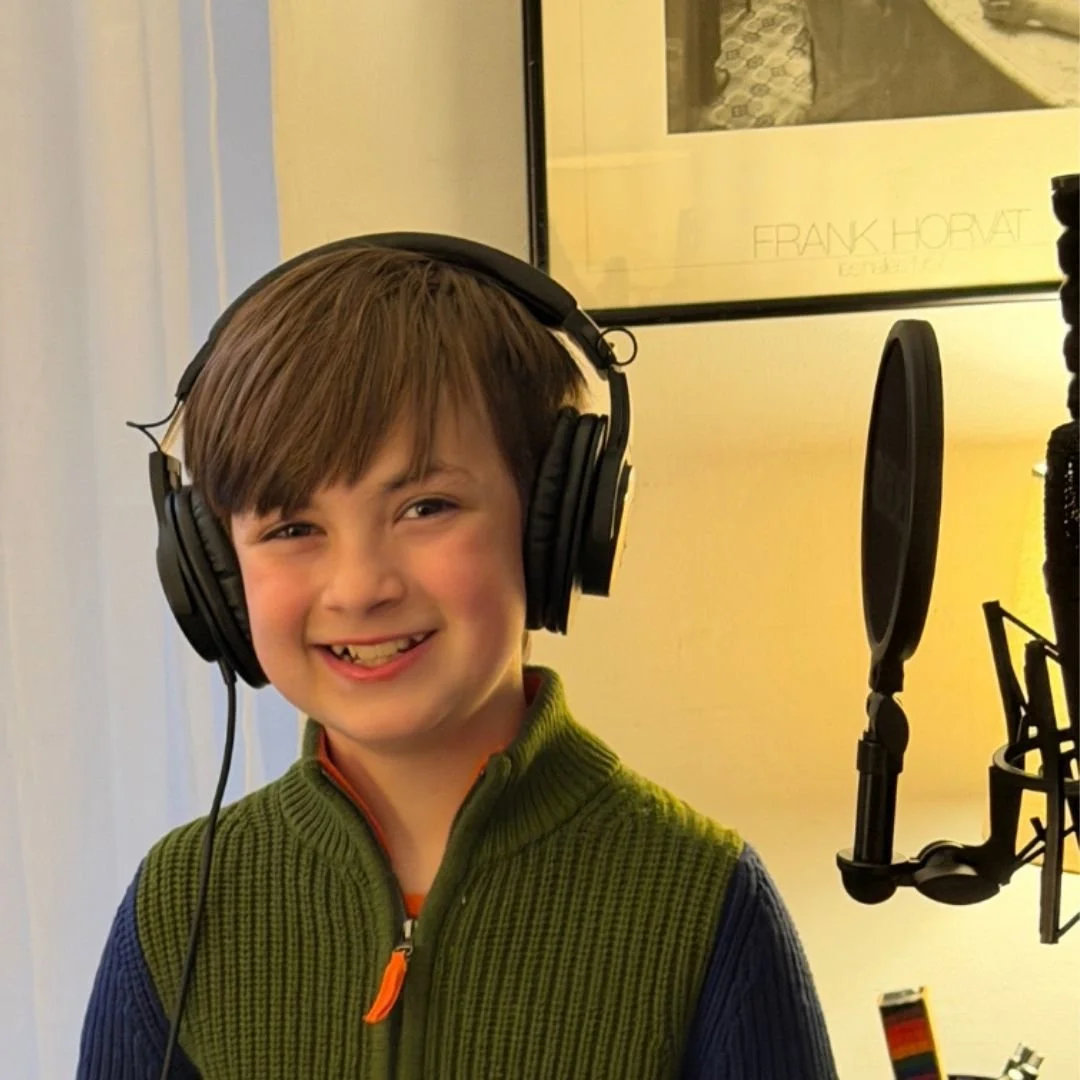
Choosing Budget-Friendly Gear for Kids
Investing in the right child voice over equipment doesn't have to be expensive. We recommend durable USB microphones like the Blue Yeti or Audio-Technica models for their "plug-and-play" simplicity. Pairing these with a basic pop filter helps prevent harsh sounds, allowing your young performer to focus on their acting during private coaching sessions or real auditions.
Simple Software and Proper Mic Technique
Once your gear is ready, use free software like Audacity or GarageBand to capture the performance. Teach your child to stand about six inches away from the microphone to avoid "popping" their P's. Mastering these technical basics early on allows their natural talent to shine through, making the editing and submission process much smoother for everyone involved.
Creating a professional environment at home empowers young performers to take control of their careers and seize every opportunity that comes their way. Whether they are aiming for animation or commercials, the right setup makes all the difference. AtBroadway Kids Auditions, we are dedicated to helping your child succeed in every facet of the industry. Ready to take the next step? Browse our upcoming workshops or contact our team today to learn how we can help your child shine.